- Anything requiring alteration to electrical installations will need to be done by a qualified electrician, for your safety and to meet building regulations. We can help advise your electrician along with the manufacturer of your kiln if they have any questions.
- Read the manual. All of it. Cover to cover. Ask if there is anything you are unsure of. Remember US made kiln manuals will have information pertaining to the USA, so if you arent sure, please ask. Check if you are looking at Farenheit or Celcius on the controller and in your firing program.
- Pre fire your kiln, this will burn off any adhesives and settle the kiln after transit. Up to 650c usually does the trick.
- Check it is level, with a spirit level, to make sure your glass doesn't run off down hill!
- Site the kiln somewhere dry, as with any electrical equipment, damp does no favours. If it is left for a long time you may need to run an empty firing to dry out.
- Bricks may develop cracks, in transit and in use, these should not pose any threat and are naturally formed in the heating and cooling phases. If you have a brick lid, occasional light brushing (e.g. with a soft dustpan brush) will dislodge small fragments that could fall onto your glass. If you have a fibre lid this will not be required. Higher temperatures will cause more cracking than lower temperatures. If an element (in bare element kilns only) gets loose, use an element pin to hold it in place.
- Fuses tripping may be caused by incorrect fuse breaker selection, consult an electrician to discuss - the higher wattage used by a kiln may cause sensitive breakers to trip. If it persists, stop using the kiln and contact the manufacturer or reseller in the unlikely case that there may be a wiring issue to resolve.
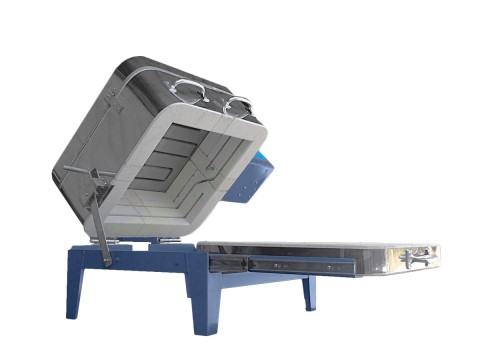
- If you have a bolt-together stand, put the bolts in loosley until they are all in place, then tighten up. It will work far more easily!
- Test the kiln with small pieces of glass, before you commit to your first piece of art work. Get used to how the kiln fires and take notes / record your findings in a notebook.
-
Keep a log of projects along with the glass used (with codes) and firing programs so that you can re-create the good ones and adjust the bad ones.
Looking to buy your fisrt glass kiln? Our range of Fusing Kilns can be found by clicking here
we recommend taking a course in glass fusing, as you will learn the key technical information and get more from your fusing, findout more or enrol on one of our Glass Fusing Courses by clicking here