Bails are often the neates way to affix a necklace or earring finding to a piece of glass to make jewellery. Glueing glass to glass to create applique mosaics is also effective, provided the correct glue and glueing method is used for a long lasting effect.
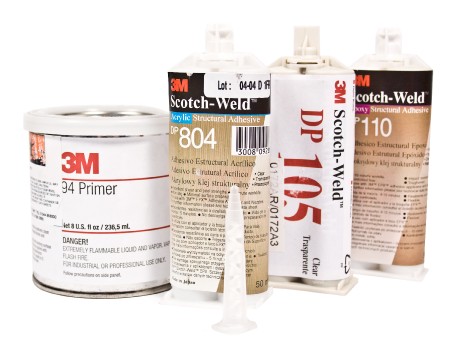
We are often asked which glue to use for glass jewellery and many other projects, there are so many on the market. From our own trials and experience, we have found that the snappliy named 3M glue, DP804 has performed best. It is very strong and most importantly does not yellow over time as some epoxy does.
Application is key. This is true with all brands of glue, some key steps in the process must be followed to help ensure that the glue stays put and the bail or glass doesn't come off.
- 1) Cleanliness is everything. You must have a clean work space, clean paper on the table and no dust, pet fur or other contaminants.
- 2) Clean your components first. Wear gloves to avoid finger grease marking them. Clean with isopropanol only. Use clean cloths or wipes, first in circular mothions to scrub the surfaces, then, after folding the cloth to reveal a fresh clean part, in stripes from side to side to remove any residues.
- 3) Wait for at least 30 seconds to allow the isoporopanol to evaporate off (if not it will dissolve the glue).
- 4) Apply the glue from an EPX applicator, do not hand mix it. There is a cost involved in buying the gun and the nozzles, but this is the only way to get the glue to work properly.
- 5) Apply glue in stripes, not swirls. This allows air bubbles to escape through channels and not get trapped in the glue. This is essential if you want your glue to stay clear and bubble free.
- 6) Glue up a batch to make the best use of the nozzle as the glue will set inside it, it is then for the bin. Don't go mad, and increase numbers with practise.
- 7) Assemble quickly, press down to remove air bubbles by squeezing. With the DP804 you have 4 minutes of 'open' (working) time.
- 8) Wait. Leave the pieces until a skin is forming on the excess glue. Check this with a scalpel. Do not begin cleanup until this has happened, try not to move the pieces.
- 9) Clean up the bulk of the excess with a scalpel and an isopropanol wipe, you should be able to clean all excess off and leave a neat flush edge to the glue. Thry to keep all as still as possible.
- 10) When clean, leave somewhere at room temperature without moving, prodding or poking overnight (12 hours minimum). This is the final curing stage and forms the strength, don't miss it out.